Yin yoga has steadily grown in popularity over the past decade as more people discover the immense benefits of this slow-paced, meditative practice. If you’re new to yoga or want a gentle, restorative style, yin is an excellent place to start.
Unlike more active yang styles like vinyasa and hatha, yin yoga poses are held for longer periods of time to target the deeper connective tissues of the body. By applying moderate stress to the fascia, ligaments, and joints for up to 5 minutes or more, yin offers incredible physical and mental rewards. The long-held yin postures paired with mindful breathing promote flexibility, reduce stress, and cultivate presence.
When practiced safely, yin is suitable for beginners of all ages and fitness levels. The sustained nature of the poses allows you to ease into the practice gently without strain or excessive effort. Props like blocks, blankets, and bolsters can help modify poses to respect your body’s limits.
In this comprehensive 2,000-word guide, we will explore some of the best yin yoga poses for beginners. You’ll learn how to safely hold each pose, what areas it targets, and simple modifications for comfort. We’ll also cover:
With time, the powerful poses outlined below will help you cultivate strength, flexibility, balance, and mindfulness. Our detailed advice will ensure you take to the mat safely as a yin yoga beginner.
Table of Contents
What is Yin Yoga?
To understand why yin yoga is perfectly suited for beginners, it helps to first learn what makes this style unique. While yin is relatively new, it draws inspiration from ancient Chinese yoga and martial arts practices.
Yin yoga was formalized in the late 1970s by martial arts expert Paulie Zink. Yin’s most famous teacher, Tao Porchon-Lynch, studied under Zink before popularizing yin yoga in the West from 1982 onwards. The style has evolved over the past few decades while staying true to its meditative roots.
The main difference between yin and yang yoga is the duration and intention of the poses. Yang styles like hatha and vinyasa emphasize muscular engagement by flowing through sequences of postures. Yin poses are held passively for much longer periods while relaxing into gentle discomfort.
Rather than targeting superficial muscle tissues, yin applies moderate stress to connective tissues like fascia, ligaments, and joints. By “gently tugging” on this web of connective fibers, yin can:
The sustained, passive nature of yin allows beginners to ease into poses gently. Props, modifications, and a no-judgment attitude keep the practice safe for students new to yoga. Let’s explore some of the core principles of yin yoga:
Long-Held Poses
Unlike yang styles, yin yoga postures are held for 3-5 minutes or longer. This allows the body to relax into a challenging but comfortable position. Time is given for fascia tissues to respond and slowly release tension. Beginners often start by holding for 1-3 minutes and work upwards.
Mindful Breathing
The breath is central during long holds. Focusing on breathing calms the mind, alleviates discomfort, and enhances circulation. Often a yin class will coordinate movement with the breath. Inhaling into a pose, exhaling to find greater comfort.
Stillness & Non-Judgment
Yin cultivates stillness in body and mind. Rather than muscular effort, gravity and time will naturally deepen you into the poses. Letting go of judgment allows the body to find its natural limits. Growth comes gradually through relaxation.
Accessible for All
While a moderate challenge is felt in yin poses, straining should be avoided. Props, fewer repetitions, child’s pose breaks, and other modifications make yin yoga accessible to beginners. Yin respects the body’s limits.
Now that you understand the core principles of this meditative practice, let’s explore why yin yoga is ideal for those new to yoga.
Benefits of Yin Yoga for Beginners
From cultivating mindfulness to releasing tension, yin yoga can offer beginners immense rewards right away. While yang styles provide more aerobic benefits, yin’s gentle approach helps:
Increase Flexibility & Mobility
The moderate pulling on connective tissues improves joint health and range of motion over time. Yin gradually loosens tight, stiff areas like the hips, spine, and shoulders.
Relieve Muscle Tension
Yin targets tense, chronically contracted muscles like the IT band, hips flexors, and back. Long holds gently stretch and decompress the body’s bundles of knotted muscle fibers.
Reduce Stress & Anxiety
The meditative nature of yin lowers stress hormones like cortisol. Paired with deep breathing, yin calms the nervous system and eases anxiety. Long holds help quiet the restless mind.
Cultivate Mindfulness
Yin’s slow pace and focus on breath fosters greater mindfulness both on and off the mat. With less muscular effort, awareness turns inward. Yin improves concentration.
Enhance Circulation
Gentle twists and forward folds help venous blood return to the heart. Fresh blood and oxygen reach tissues to facilitate healing and energy flow.
Balance the Nervous System
By stimulating the parasympathetic “rest and digest” system, yin balances the over-activation of our “fight or flight” sympathetic system from daily stress.
Prepare for Meditation
Yin yoga’s stillness and breathwork cultivate the awareness needed for seated meditation. The practice calms the mind’s restlessness.
Promote Injury Prevention
Improved mobility and joint health help prevent yoga-related strains and sprains. Yin strengthens connective tissues to reinforce joints.
As you can see, yin yoga uniquely meets beginners where they are. The gentler approach helps students learn the foundations of yoga, breathwork, and mindfulness. Now let’s explore some of the best starter poses to include in your yin practice.
Beginner 08 Yin Yoga Poses to Try
Yin classes vary in the poses practiced, often drawing from 20+ grounding postures. The poses below represent a well-balanced full-body sequence suitable for beginners.
Start on the floor with your props nearby. Only move into the depth that feels right for your body today. Ease in and out of poses gently. You should feel moderate sensation but never intense or sharp pain. Try holding each pose for 1-3 minutes as you are building stamina.
#1. Caterpillar Pose (Sphinx Pose Variation)
Targets: Spine (especially lumbar), hamstrings, back body
This pose decompresses the spine after lots of sitting and bending forward. With a gentle backbend, the caterpillar strengthens the back muscles.
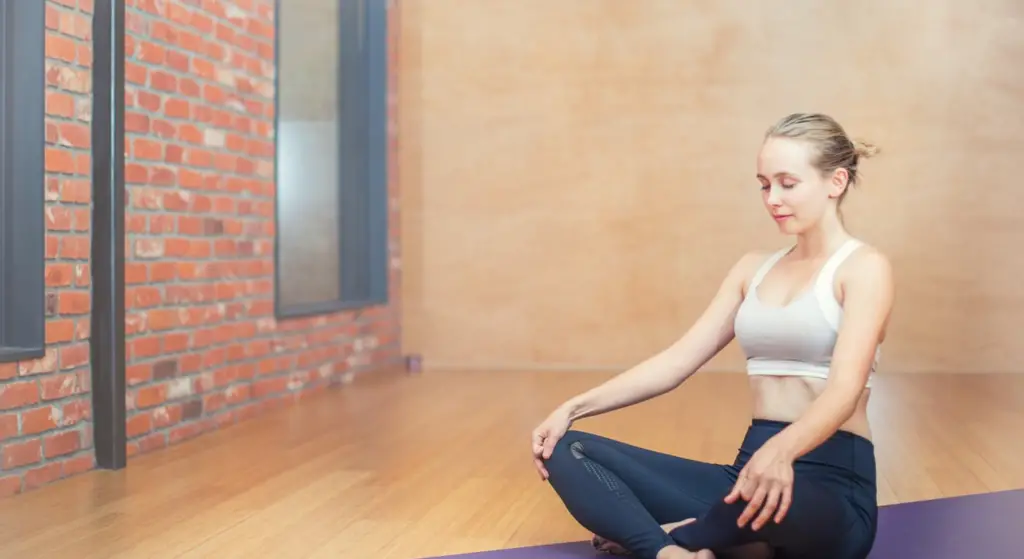
#2. Butterfly Pose (Baddha Konasana)
Targets: Inner thighs, hips, groins
Butterfly gently stretches the inner thighs and groin while improving hip mobility and range of motion.
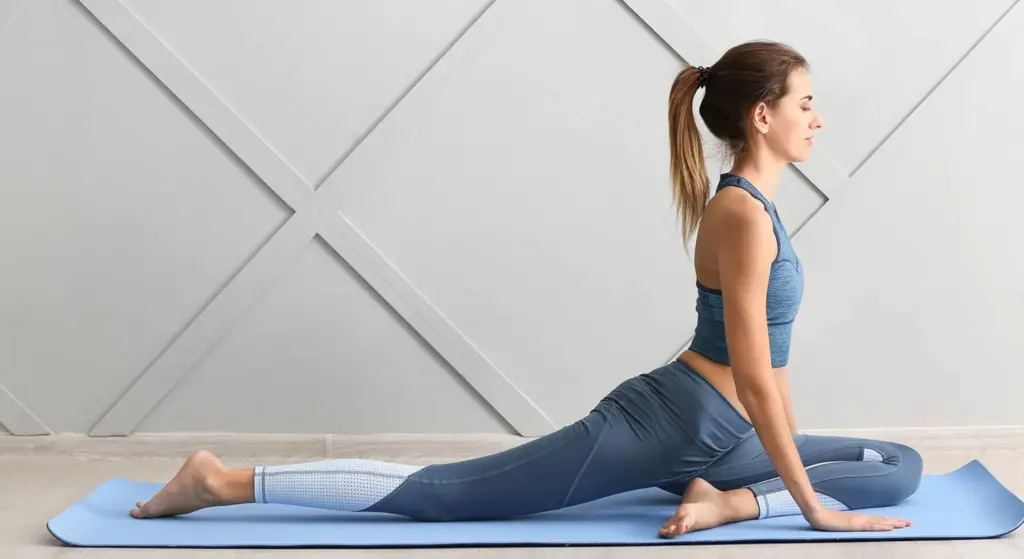
#3. Dragon Pose
Targets: Hip flexors, abdominal muscles
Dragon pose stretches tight hip flexors from too much sitting while strengthening core muscles.
#4. Frog Pose
Targets: Inner thighs, hips, groin
The frog pose opens the groins and inner thighs. Kneeling on the floor keeps it accessible for beginners.
#5. Sphinx Pose
Targets: Spine (especially lumbar), chest, shoulders
The chest opener helps strengthen the upper back. Sphinx gently stretches the front body after lots of sitting hunched over.
#6. Fish Pose
Targets: Chest, shoulders, thighs
Fish pose counteracts all the rounding forward from daily life. Expanding the chest improves posture over time.
#7. Reclined Hand to Big Toe Pose
Targets: Hamstrings, hips, inner thighs
This pose stretches the hamstrings, inner thighs, and hips with gravity assisting you. Options like a strap prevent overstretching.
#8. Saddle Pose
Targets: Outer hips, thighs, back extensors
The saddle pose provides an intense (but comfortable) stretch for the outer hips and thighs. It improves mobility.
Repeat the sequence on the second side for unilateral poses. Rest in the child’s pose between sides. Now that you have the core beginner poses, let’s go over some tips for starting your yin yoga practice.
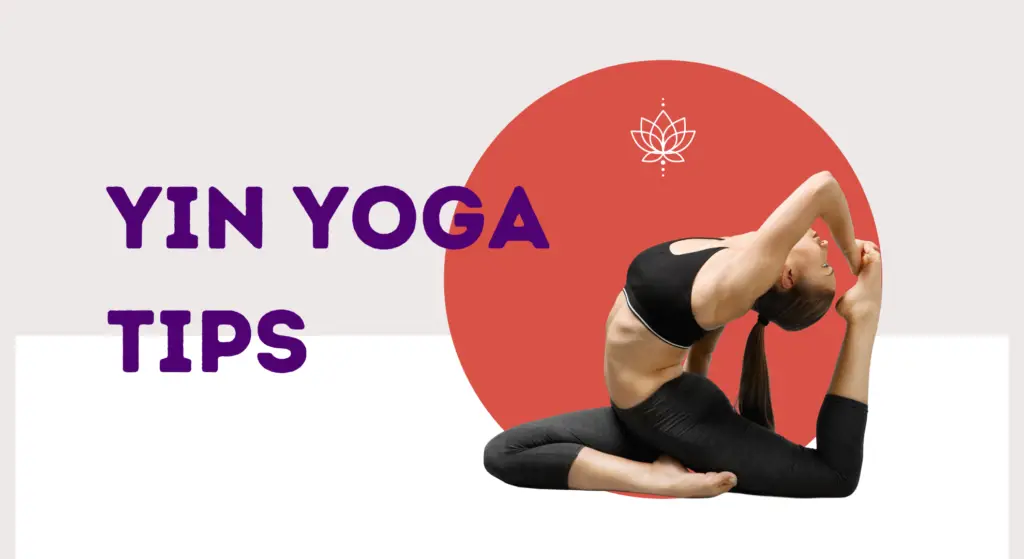
Yin Yoga Tips for Beginners
To get the most out of your yin yoga practice as a beginner, keep these essential tips in mind:
Come to Your Edge
Find a challenging but manageable depth – not too intense but not completely comfortable either. Yin’s “sweet spot” has a moderate sensation of stretch.
Use Props for Support
Props make poses more accessible and prevent injury. Bolsters under the knees during butterfly or child’s pose can be very helpful.
Start Short, Then Lengthen
When first starting, hold poses for just 1-3 minutes. Gradually build endurance to stay longer (5+ minutes).
Relax Muscles & Soften Gaze
Muscular effort defeats the purpose of yin; gravity does the work. Release jaw, relax face, and soften eyes.
Focus on Breath
The breath helps you ease any discomfort. Exhale to find a little more depth. Inhale can give some relief.
Be Still
Yin cultivates stillness in mind and body. Avoid fidgeting or adjusting, and let go of the inner critic. Simply be.
Support Your Body
Use props to respect your body’s limits each practice. Prioritize comfort – yoga should never hurt.
Start Slowly
For beginners, just 2-4 poses held for 1-3 minutes delivers results. No need to rush into advanced sequences.
Practice Consistency
Yin yoga rewards regular, repetitive practice. Stick with it even just 10-15 minutes a few times per week.
Following these tips will keep your yin yoga practice safe, gentle, and mentally restorative as a beginner. Consistency is key to experiencing the full benefits over time.
Now that you have a good foundation, let’s answer some frequently asked questions about this meditative practice.
Answers to Common Yin Yoga Questions
Here are answers to some questions often asked by yin yoga beginners:
What is the difference between yin and restorative yoga?
Yin applies moderate stress targeting connective tissues. Restorative uses props to fully support the body and mind. Both are slow-paced and meditative.
How often should I practice as a beginner?
Aim for 2-4 times per week consistently. Even a short 10-15 minute yin practice delivers results. Be patient and let benefits accumulate.
Will Yin alone increase flexibility?
Yes, but pairing it with more dynamic yang styles boosts results. The combination maximizes joint mobility.
Can I practice yin yoga at home?
Absolutely. Yin requires minimal equipment and space. Clear an area on the floor, grab a mat and props, and follow our pose guidance.
What should I wear for yin yoga?
Comfort is key. Stretchy yoga pants, layers to stay warm in poses, non-slip socks, and a supportive bra. Nothing too restrictive.
Can I practice yin yoga before bed?
Yes, yin is very calming and promotes restful sleep. Just avoid overly stimulating poses like strong backbends prior to bedtime.
Is yin good for beginners?
Yes! Yin’s slower pace, use of props, floor poses, and non-judgment make it accessible for absolute beginners. Just avoid advanced poses at first.
Hopefully, these tips have shed light on how beginner-friendly the yin yoga practice can be. The gentle, restorative nature makes it the perfect place to start or complement an existing yoga routine.
Start Your Yin Yoga Practice Today
If you’re new to yoga, want a gentle practice, or need to slow down, yin is for you. Start applying the beginner poses and guidance in this 2,000-word guide today:
Within a few weeks of regular practice, you will notice improved flexibility, mobility, balance, and mindfulness. The long-held yin postures will help release deeply-held tension and bring the body back into healthy alignment. Your mind will feel less anxious and more focused.
Yin yoga is a journey. Follow our advice to progress safely as a beginner for the amazing benefits ahead. Keep learning new yin poses, exploring your edge, and cultivating stillness on the mat.