Overview of Vin Yin Yoga: A Passive Meditative Practice
Yin yoga is a slow-paced, meditative style of yoga that mainly consists of seated, supine, and prone poses held for long durations. The sustained stretches of 3-5 minutes access deeper connective tissues like fascia and ligaments vs more active styles that target the muscles.
Unlike yang styles of yoga, the intention of yin is not to burn calories or work up a sweat. Instead, it’s a more passive inward practice focused on sitting still, breathing slowly, and stimulating the body’s energetic meridians. The long holds and inward focus provide balance to our otherwise busy yang lifestyles.
The term “Yin yoga” combines the Chinese concept of yin, representing feminine qualities like openness and receptivity, with the popular physical and spiritual discipline of yoga. So a Vin Yin class essentially applies the receptive, surrendering qualities of yin to targeted asana.
Benefits of a regular vin Yin practice include:
The sustained, gentle stretches in yin send signals to the body that promote circulation in the connective tissues and joints. Over time, this can lead to an improved range of motion and a sense of openness. It also helps us tap into a state of presence and mind-body awareness.
Table of Contents
Key Differences Between vin Yin Yoga and Other Styles
To fully understand yin yoga, it helps to compare it with other more well-known styles. Let’s look at how it differs from vigorous yang yoga, fluid vinyasa, restorative yoga, and traditional Chinese yoga.
Yin vs Yang Yoga
Yang refers to qualities like heat, action, and aggression. Yang yoga prioritizes building strength and endurance through a series of held postures. Styles like Power Yoga and Ashtanga generate internal heat, increase muscle tone, and burn calories. They also improve flexibility but in a more superficial way by stretching the muscles.
By contrast, yin yoga is a cooling, passive practice that targets the deeper connective tissues instead of the muscles. Postures are held for longer durations with no transition between them. The intention is to stimulate and rehabilitate this deeper tissue rather than tone the body.
Yin vs Vinyasa/Hatha
Well-known styles like Vinyasa and Hatha also have yang qualities. They focus on synchronizing breath with movement between active postures to build heat and flexibility. Class formats flow through Sun Salutations and a variety of asanas.
Comparatively, yin poses are held statically for longer periods with no flowing between them. The intention is to relax into each posture instead of dynamically transitioning.
Yin vs Restorative Yoga
Restorative yoga also provides a balancing counterpoint to our stressful lives. It uses various props like bolsters, blankets, and blocks to provide complete support and relaxation. Restorative applies the concept of supported backbends, forward folds, etc for deep rejuvenation.
While yin is relaxing, it differs in that no props are used to support the body. Instead, the poses rely on your own body weight and gravity to facilitate a stretch. So there is a small degree of muscular engagement. The intention is to find your “appropriate edge” between ease and intensity.
Principles and Characteristics That Define Vin Yin Yoga
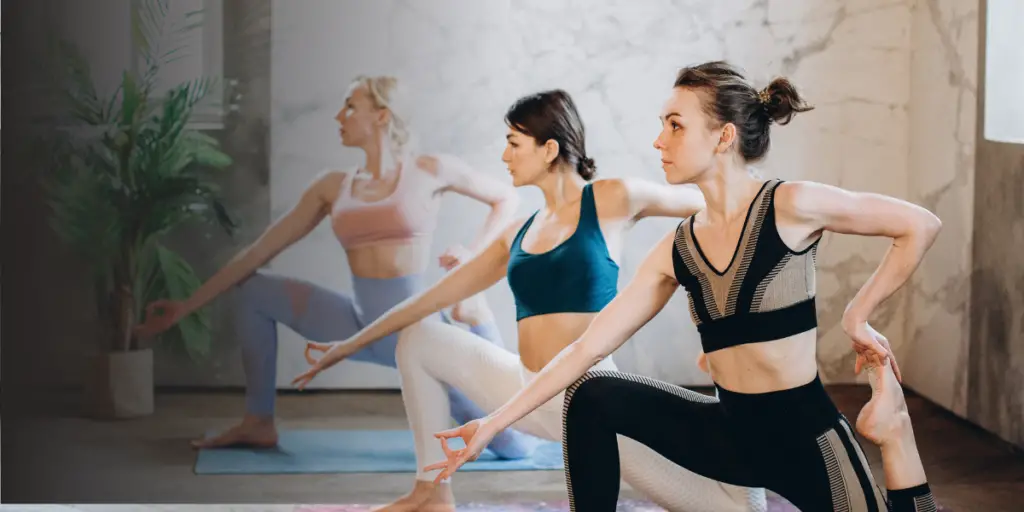
Some key principles and characteristics that define a yin approach:
Passive, Receptive Qualities
Instead of forcing or aggressively controlling the body, we adopt a receptive mindset. This allows us to relax into poses, surrender to sensations, and achieve greater connection and flexibility. Beginners must be cautious of overstretching.
Floor Poses Target Connective Tissues
A signature aspect of yin is sustained floor poses held for 3-5 minutes or more. Seated forward folds, hip openers, and butterfly stretches apply moderate stress to fascia allowing ligaments, joints, and cartilage to broaden and relax.
Activation of Meridians
In Chinese medicine, meridians allow chi or energy to flow throughout the body. A yin practice activates these subtle energy channels bringing vitality to organs and tissues. Poses like Caterpillar or Swan compress or stimulate corresponding meridians.
Stillness & Inward Awareness
The long holds and inward focus induces stillness and presence. We tune into the subtle physical sensations, energies, and patterns of tension. This heightened awareness reveals restrictions and areas needing care.
Finding Your “Edge”
Unlike yang styles, it’s best not to force yourself to the point of pain or strain. Instead, find your appropriate “edge” where you feel moderate sensation but can still breathe smoothly for the entire duration of the pose.
Importance of Breath
Conscious breathing helps us achieve release while protecting vulnerable joints and connective tissues from overexertion. We use the breath to relax and gently lean into restriction and gently stimulate deeper tissues.
What to Expect in a Typical Yin Yoga Class Format
Yin yoga classes provide a quiet introspective counterbalance to our busier Yang-dominant lives. Here’s a general overview of the structure:
Centering & Grounding
Classes begin seated with a short meditation to calm and focus the mind, establish intention, scan the body, and observe areas of tension. We consciously ground down feeling a connection through the pelvis.
Warm Up Joints & Tissues
The teacher leads some gentle joint rotations or warming movements to lubricate the joints and ready connective tissues for stretching. Initial poses might include subtle hip circles, knee rotations or upper back arcs.
Floor Poses Held 3-5 Minutes
We spend the bulk of class practicing variations of Caterpillar, Butterfly, Square Pose, Dragonfly or Frog held for long durations with pillows or props for therapeutic support. The teacher provides options to modify depth.
Savasana & Meditation
Every yin practice concludes with a 5-10 minute Savasana letting the body integrate the release of connective tissues. The teacher closes with a short meditation to complete the centering process before the busyness resumes.
5 Top Yin Yoga Poses to Know
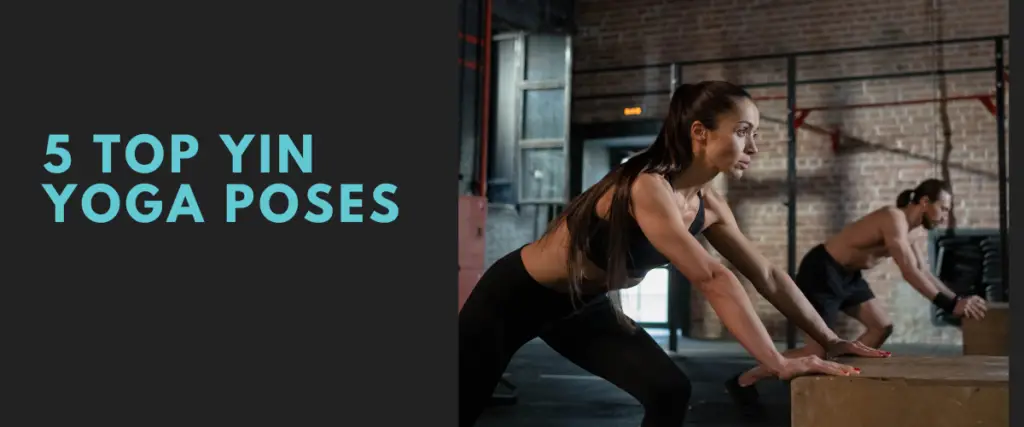
These poses provide an introduction to Yin Yoga by targeting key areas like hips, lower spine and upper back – typical places where stress and tension accumulate. Always find your appropriate edge between sensation and discomfort.
Caterpillar
Sitting with legs outstretched, slowly walk hands forward releasing upper back and spine. Keep knees bent as needed without strain. Hold for 2-5 minutes.
Target areas: Upper back, spine
Butterfly
From a seated position, bring the soles of your feet together opening your knees out to the side. Gently move knees up/down to target hip flexors. Hold 2-5 minutes.
Target areas: Inner thighs, hip flexors/joints
Dragonfly
Lying on back, open knees out wide with soles of feet together. Release hip flexors and adductors with small pulsating movements. Hold for 2-5 mins.
Target areas: Inner thighs, pelvis
Saddle
In a low lunge position, rest hips on the ground between feet. Lean torso forward applying stretch to hip flexors. Hold for 2-5 minutes.
Target areas: Hip flexors, quadriceps
Supine Spinal Twist
Lying on your back with knees bent, allow both knees to gently release to one side keeping your shoulders on the floor. Hold the stretch for 2-5 minutes each side.
Target areas: Lower back, outer hips
Best Practices for Home Practice & Preventing Injury
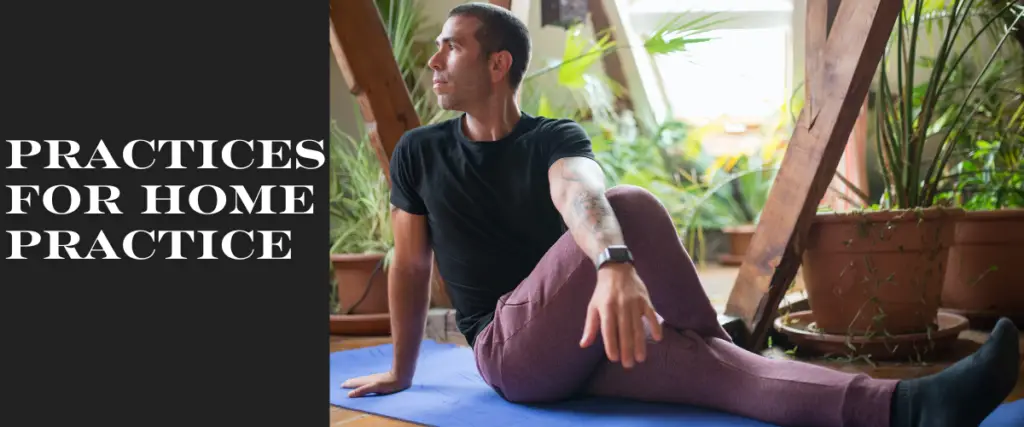
To make the most of your home practice always remember:
Practice on an Empty Stomach
It’s best not to eat a heavy meal beforehand so your body can completely relax into postures without digestive discomfort. Light snacks are ok. Stay hydrated.
Support your Body Properly
Use bolsters, blankets, or cushions to support vulnerable joints in the hips, knees or lower back. This helps relax those areas preventing hyperextension or compression.
Find Your Comfortable Edge
Respect pain signals from the body and don’t aggressively stretch to the point of strain. Find your appropriate intensity where the sensation ebbs/flows like waves washing gently over you.
Start Slowly and Progress Over Time
When beginning, shorter hold times of just 1-2 minutes can provide therapeutic benefits. As you progress gradually work up to longer holds without forcing tissue release.
Keep Breath Steady and Relaxed
Conscious full breaths originating deep from the diaphragm help relax the nervous system. If you feel tension or intensity, use your breath to help you surrender deeper into the posture.
By respecting these foundational guidelines, you’ll reap the incredible benefits of yin yoga and avoid potential strain on vulnerable connective tissues. Now let’s explore how yin uniquely complements an existing vigorous (yang) yoga practice.
How Practicing Yin Yoga Provides Balance in Your Life
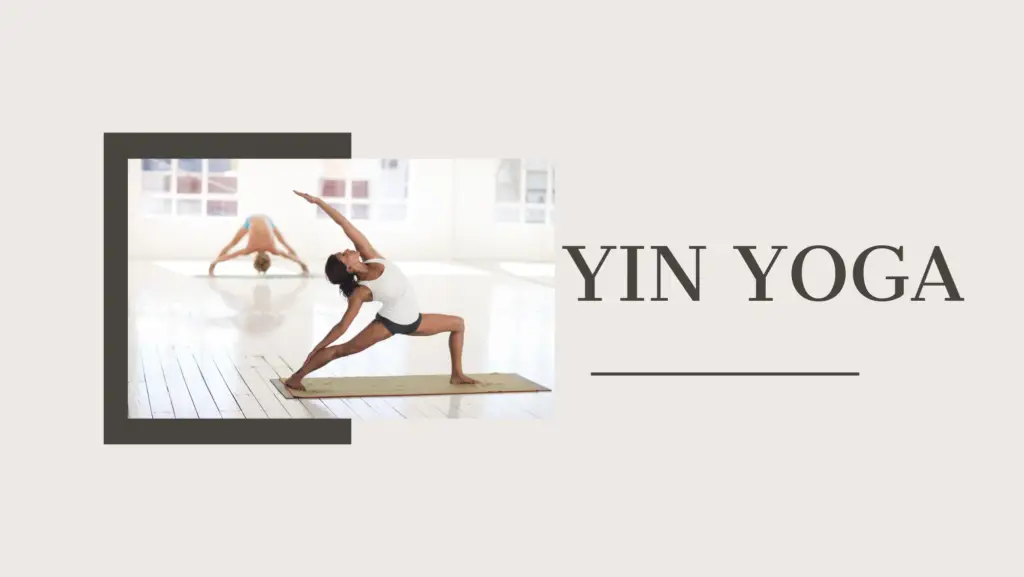
In our fast-paced modern world filled with digital stimulation and busy schedules, practices that induce stillness and inward calm are more vital than ever. Yin yoga helps provide crucial mind-body balance in several key ways:
Creates Physical Balance
The sustained stretches applied to connective tissues help balance tension developed in the muscles which are predominantly targeted in active yang styles of yoga and fitness. Yin postures like Caterpillar or Butterfly access the fascia network more deeply.
Generates Mental Equanimity
The quiet, meditative nature of yin sessions trains our minds to remain calm and equanimous. The lack of external distraction and turning inward promotes present-moment awareness and relief from anxious thinking.
Restores Vital Energy
Yin’s passive holding poses combined with slower breathing rhythms help counteract daily stress. The parasympathetic relaxation response is activated allowing us to restore and integrate vital energy reserves that become depleted.
Facilitates Emotional Sensitivity
When we slow down and tune inward connecting breath to bodily sensation, subtle emotions, and psychological patterns trapped in the tissues can be acknowledged, felt, and released. This leads to greater emotional sensitivity and wholeness.
As you can see, committing to a consistent yin practice alongside more active yang training delivers immense physical mental, and emotional health repurposing our amazing innate capacity to flourish
Sample Yin Yoga Sequences for Beginners
Here are two sample sequences to help you get started exploring Yin yoga at home. Always focus on the steadiness of breath and finding your appropriate edge during the long hold times.
Sequence 1: Upper Body Focus
Caterpillar Pose – 2 minutes Sitting upright, hinge forward at hips, lowering chest towards thighs. Hands can rest wherever feels comfortable. Focus on feeling expansion across the chest and upper back.
Butterfly Pose – 3 minutes From a seated position, bring the soles of your feet together opening the knees out to the side. Gently pulse knees up and down 5-10 times then just hold passive stretch keeping spine long.
Dragon Pose – 4 minutes Come to hands/knees, slowly lowering forearms to the floor widening elbows wide. Keep hips lifted to feel stretch across shoulders/upper back.
Supported Fish Pose – 5 minutes
Place bolster lengthwise along the spine. Lie back over the bolster with head-supported arms extended to the side in a T shape. Breathe fully into the chest.
Legs Up Wall Pose – 5 minutes Sit sideways against the wall, rotating your body to bring your legs straight up the wall. Arms can rest relaxed on the floor alongside you with palms facing up.
Savasana – 5-10 minutes Take time to integrate all the release through your upper body by resting calmly in stillness. Soak up the tranquil sensations washing over you.
Sequence 2: Lower Body Focus
Reclining Hand to Big Toe Pose – 2 minutes on each side Lying on your back, bend your right knee lifting your foot towards the ceiling. Wrap the strap around the arch of the foot extending the leg straight up. Flex/point ankle gently, draw small circles with toes or pulse leg in/out 5-10 times then just hold passive stretch for the remaining time. Repeat on the second side.
Frog Pose – 3 minutes From all fours, open your knees out wide bringing your toes to touch behind you. Shift hips and chest between legs lowering to forearms/chest on floor opening inner thighs. Hold for 3 full minutes feeling groin muscles relax.
Sphinx Pose – 4 minutes Lower to belly resting forearms on the floor in front of you with elbows under shoulders and legs extended behind. Lift heart forward arching upper back. Hold for 4 slow breaths.
Saddle Pose – 5 minutes for each side From downward dog split one leg forward into a low lunge bending back knee and resting it on the floor. Shift hips slightly forward to intensely stretch the front of the rear hip/thigh. Hold for 5 slow steady breaths. Repeat on the other side.
Supine Spinal Twist – 5 minutes each side From knees bent position, open arms wide at shoulder level palms facing up. Allow both knees to gently release over to the left side keeping shoulders still pressed down. Hold the stretch for 5 minutes smoothly breathing then repeat the twist on the opposite side for another 5 minutes.
Corpse Pose – 8-10 minutes
Take time to integrate the release through the lower body by soaking up sensations washing over you. Notice areas that feel more open and areas still tighter. Just witness and breathe consciousl .more…
As you progress, keep exploring new Yin poses and sequences while respecting your body’s signals. Over time you will notice improved mobility and calmness from this incredible practice!
Additional vin Yin Yoga Guidance
Now that you understand the major differences between Yin and other styles of yoga, let’s explore some final best practices for maximizing the benefits of your Yin practice.
Creating The Optimal Environment for Yin Yoga
Setting up the right environment helps facilitate full relaxation and release into the long-held Yin postures. Here are some key tips:
Eliminate Distraction
Silence phones and minimize noise/music so you can truly unplug from external sensory stimulation and tune into subtle inner sensations.
Adjust Room Temperature
Heat encourages yang energy and should be kept minimal. Cooler room temperature (around 68 F) allows the body to gently relax and pull back.
Use Subdued Lighting
Low ambient mood lighting or candlelight sets the stage for inward awareness without overstimulation. Yin taps into our parasympathetic relaxation response which is supported by lower lighting.
Burn Calming Aromatherapy
Essential oil diffusers with balanced scents like lavender, bergamot or frankincense enhance the zen atmosphere. Avoid strong scents that could overpower the senses.
Additional Guidance for Safe and Effective Practice
To avoid injury and receive full benefits from Yin yoga:
Increase Hold Times Gradually
When beginning, start with just 1-2 minutes in poses and gradually increase hold times as tissue tolerance improves. Respect pain signals indicating you’ve reached maximum depth.
Support Joints Properly
Use bolsters, blankets, and blocks to support vulnerable joints and prevent overstretching. This is especially important for students with pre-existing injuries or hypermobility.
Relax Muscles
Actively make sure muscles surrounding the joints are relaxed. Yin targets the deeper connective tissues so muscles should feel at ease. Conscious breathing helps achieve this.
Follow with Gentle Movement
Flowing practices like qi gong or gentle vinyasa help reinvigorate energy levels after longer Yin holdings. Simple movement integrates the release through the fascia network.
Over time you’ll intuitively learn how to optimize each practice session for your unique body!
In Conclusion: Achieve Greater Balance and Mobility Through Yin
The sustained, passive nature of Yin yoga provides immense value as our lives become increasingly yang from digital overload and hectic pace. It facilitates flexibility often less accessible through traditional muscle-focused stretches and active movement. When balanced with other more vigorous practices, Yin yoga unlocks relaxation generating renewal mentally, physically, and emotionally.
Hopefully, this guide shed light on exactly how Yin yoga uniquely targets connective tissues through longer holdings supported by the breath and body’s natural weight distribution. By progressing gradually and listening inwardly, you’ll be amazed at how this ancient practice returns us to greater wholeness.
Prana Vinyasa Yoga: A Guide to This Dynamic and Energizing Practice
Power Yoga vs Vinyasa Yoga: Understanding the Key Differences
#6 Common Frequently Asked Questions about Yin Yoga
Let’s explore some common questions people have when starting a Yin yoga practice:
What is the best time of day to practice Yin yoga?
Many prefer practicing Yin yoga in the evening to calm and soothe the nervous system before sleep. The longer holds and introspective nature allows us to slowly unwind from the busyness of the day. However, early morning Yin sessions are also beneficial to ease into the demands of the day with a more meditative mindset.
How often should you practice Yin per week?
There’s no strict rule but 2-3 times per week is ideal for most. Balance with other more yang-style vigorous practices. Limited flexibility requires more frequent Yin sessions while athletes who stretch intensely may only need it 1x weekly. Feel it out based on your body’s needs.
How long should a Yin yoga session last?
60-75 minutes allows sufficient time to stimulate connective tissue release while avoiding strain. Brief 30-45 minute Yin flows also offer benefits for busy schedules. Listen to your body’s needs day-to-day regarding optimal length.
Can I practice Yin yoga at home?
Absolutely! All you need is a yoga mat. Props like yoga bolsters, blankets, or blocks provide extra support which is helpful when starting out. Ensure you’re warm if practicing directly on the floor. Follow online Yin class videos or hold a few floor poses for longer durations.
Is Yin or Restorative Yoga Better?
It’s not about one being better. Both provide relaxation albeit through slightly different mechanisms. Restorative relies more on physical props for support whereas Yin uses body weight to facilitate stress and gentle muscle engagement. Combine practices to receive a balance of passive stretching and total body support.
Can Yin yoga injure you?
Just like any physical practice, improper alignment or pushing the body too far risks injury. Respect your body’s pain signals and avoid overstretching joints. Build foundational strength first and use props to support vulnerable areas like lower back and knees during floor poses. Progress gradually in your practice.
