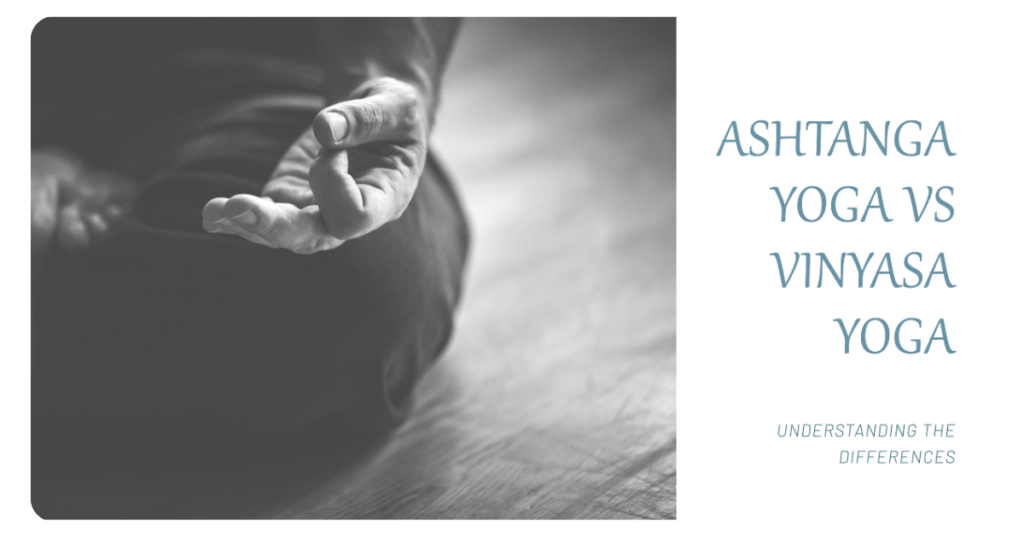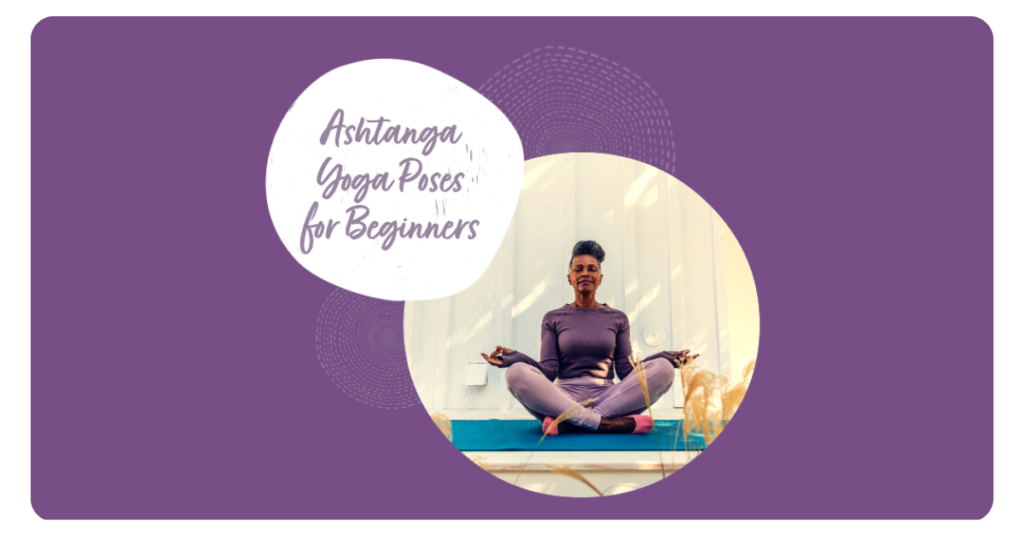
Introduction
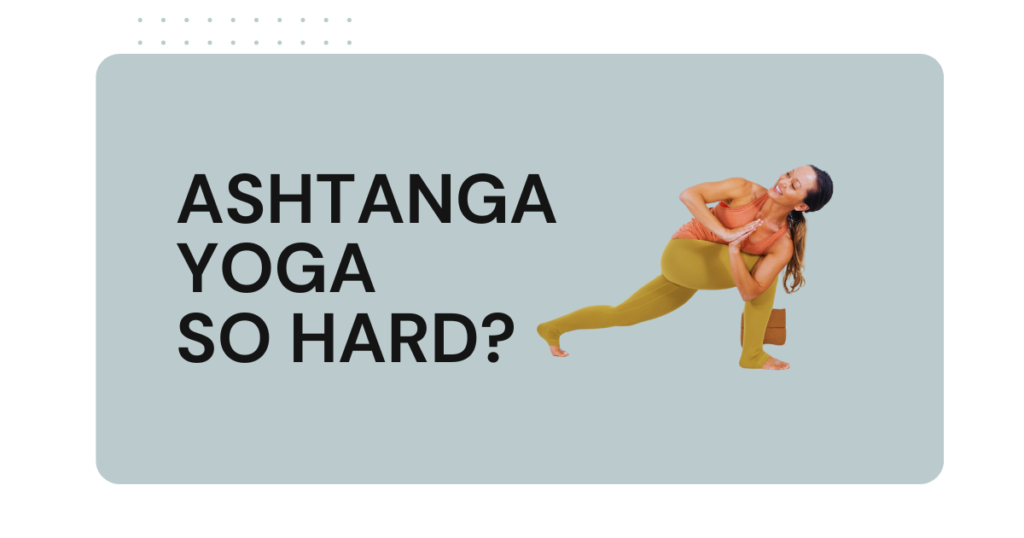
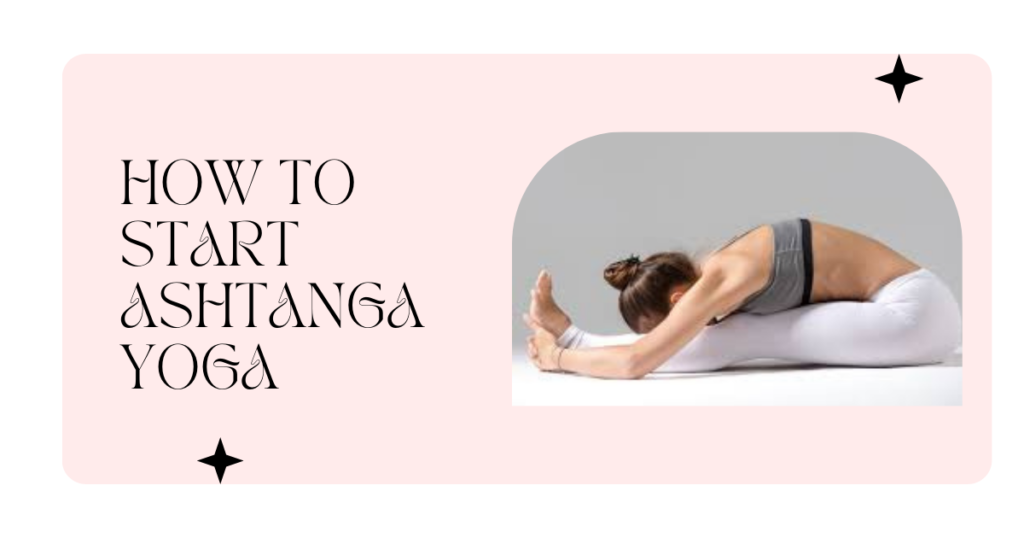
If you’re new to the world of yoga, the dynamic and physically demanding practice of Ashtanga might seem intimidating. However, with the right guidance and a few beginner-friendly modifications, this traditional style can be an incredibly rewarding way to build strength, flexibility, and focus.
Ashtanga yoga, also known as Ashtanga Vinyasa Yoga, is a vigorous and structured system that combines breath-synchronized movements into a flowing series of postures. Unlike many modern yoga classes that offer a varied sequence each time, Ashtanga follows a specific order of poses designed to work the entire body and purify the nervous system.
In this comprehensive guide, we’ll break down the essential Ashtanga yoga poses for beginners, offering step-by-step instructions, modifications, and tips to ensure a safe and empowering practice. Whether you’re seeking a physical challenge or a pathway to inner peace, this ancient yogic tradition has the potential to transform your journey.
What is Ashtanga Yoga?
Ashtanga yoga traces its roots to an ancient manuscript called the Yoga Korunta, which was discovered and revived in the early 20th century by Sri K. Pattabhi Jois. This rigorous yet purifying style emphasizes coordinating every movement with an ujjayi breath – a deep, audible breathing technique that fuels the vinyasa (transition between poses).
Unlike many contemporary yoga styles that offer a varied sequence each class, Ashtanga follows a specific order of postures called the Primary Series (Yoga Chikitsa). This set series is designed to work the entire body, build internal heat, and facilitate the removal of toxins through the generation of sweat. As practitioners progress, they can move on to more advanced series.
Ashtanga yoga is often referred to as a “moving meditation” because of the deep focus and mindfulness required to synchronize breath with each posture transition. While physically demanding, this practice can be incredibly rewarding for those seeking a transformative experience that challenges the body, mind, and spirit.
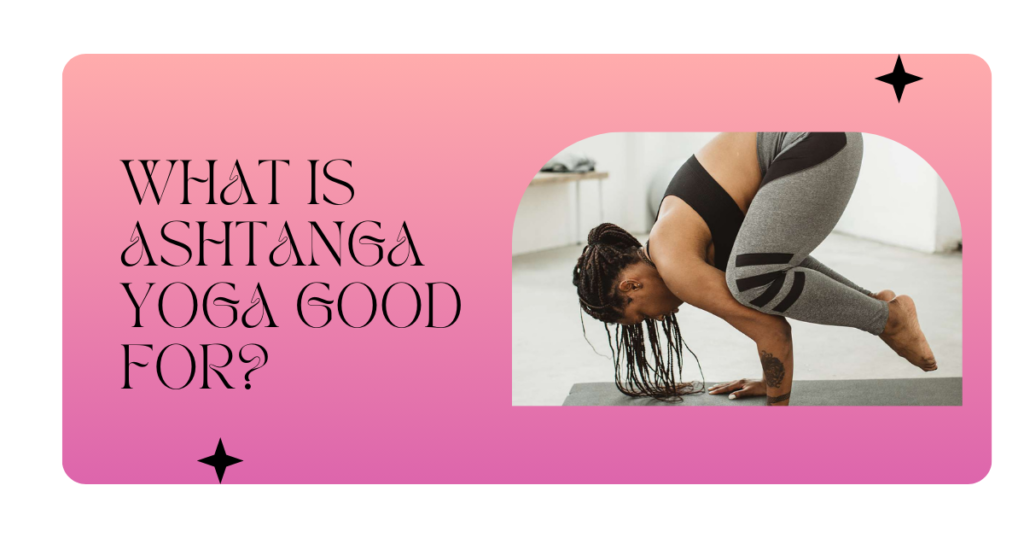
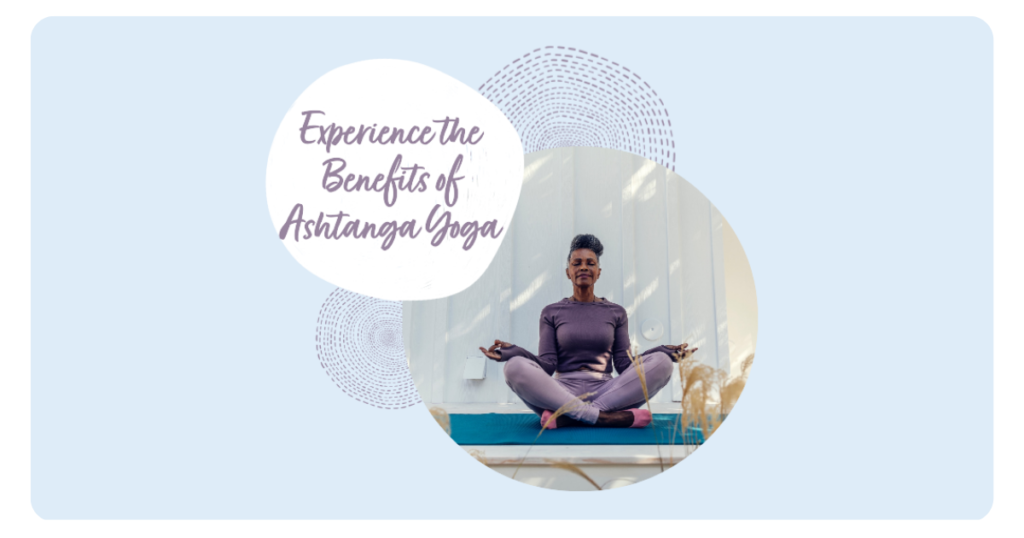
Benefits of Ashtanga Yoga for Beginners
Despite its reputation as an intense practice, Ashtanga yoga offers numerous benefits that make it an excellent choice for beginners seeking a well-rounded fitness routine. Here are some of the key advantages:
- Increased Strength and Flexibility: The combination of dynamic movements and static holds in Ashtanga poses works to build muscle strength while gradually improving flexibility in a balanced way.
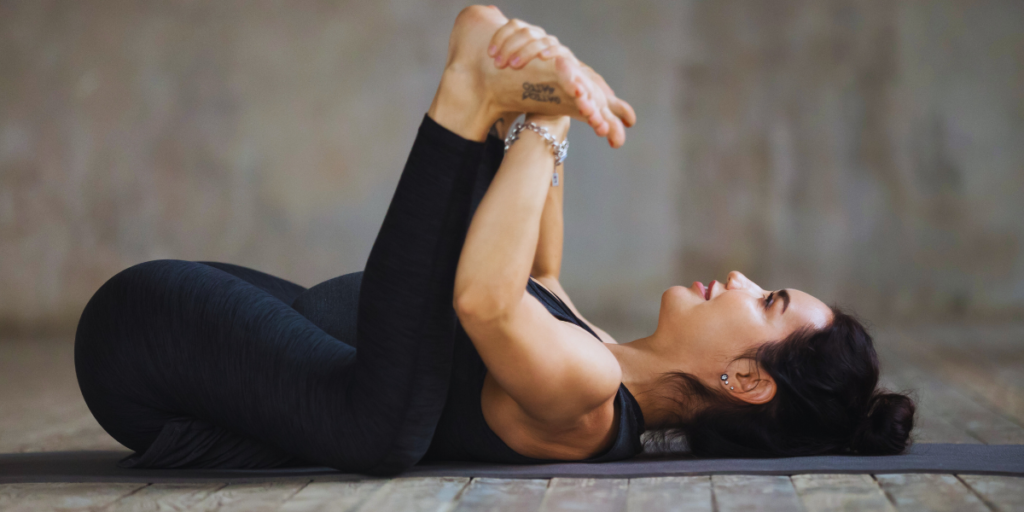
- Improved Balance and Coordination: The flowing transitions between poses, as well as balancing postures like Navasana (Boat Pose), challenge your proprioception and stabilizing muscles, enhancing overall balance and coordination.
- Detoxification and Weight Loss: The synchronized breathing and continuous movement in Ashtanga yoga generate internal heat, promoting detoxification through sweating. Additionally, the high-intensity nature of the practice can lead to significant calorie burn, supporting weight loss efforts.
- Enhanced Focus and Mindfulness: The ujjayi breathing technique and the need to remain present in each posture cultivate greater concentration and mindfulness, reducing stress and promoting mental clarity.
- Core Strengthening: Many Ashtanga poses, such as Navasana (Boat Pose) and Plank variations, engage the entire core musculature, leading to improved posture, stability, and a stronger foundation for more advanced poses.
While Ashtanga yoga can be physically demanding, its benefits extend far beyond the physical realm, making it a holistic practice that nourishes the body, mind, and spirit.
Setting Up Your Ashtanga Space
Before diving into the poses, it’s essential to create a dedicated space for your Ashtanga practice. Here are a few tips to help you set up an optimal environment:
Essential Props:
- Yoga Mat: Choose a non-slip mat with a little extra length and width to accommodate the dynamic movements of Ashtanga.
- Yoga Towel: Keep a towel nearby to wipe away sweat during your practice.
- Yoga Blocks: These versatile props can assist with modifications and provide support in various poses.
- Yoga Strap: A strap can help you work on flexibility and achieve proper alignment in certain postures.
Creating a Distraction-Free Space:
- Find a quiet area in your home or practice space with minimal distractions and good ventilation.
- Ensure adequate lighting and consider playing calming background music or nature sounds to enhance your practice experience.
- Keep any electronic devices out of sight and on silent mode to avoid interruptions.
Attire:
- Wear comfortable, breathable clothing that allows for unrestricted movement, such as form-fitting tops and leggings or shorts.
- Avoid loose or baggy clothing that may get in the way during the flowing sequences.
- Practice barefoot or with non-slip yoga socks to ensure proper grip and stability.
By creating a dedicated and distraction-free space, you’ll be able to fully immerse yourself in the practice of Ashtanga yoga, allowing you to focus on your breath, movements, and the present moment.
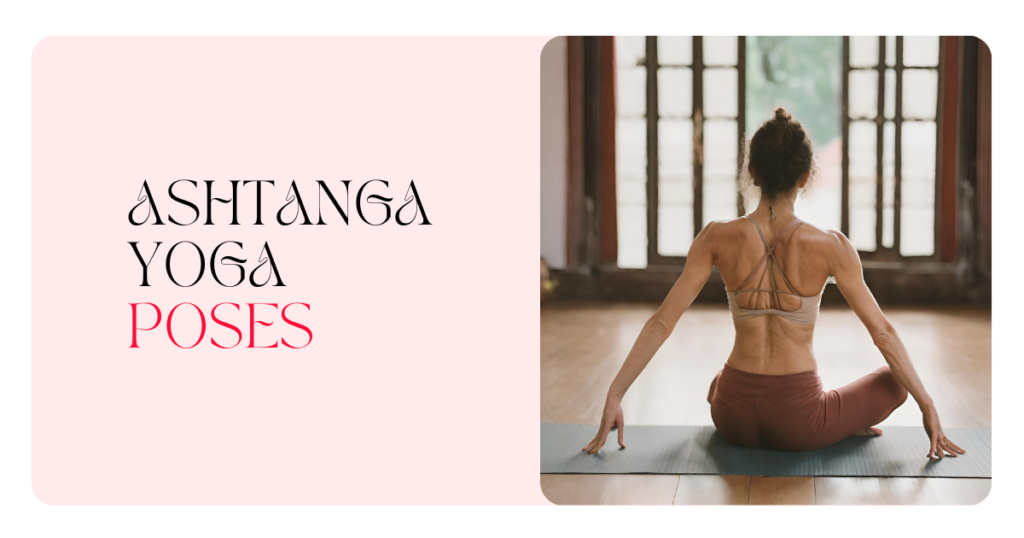
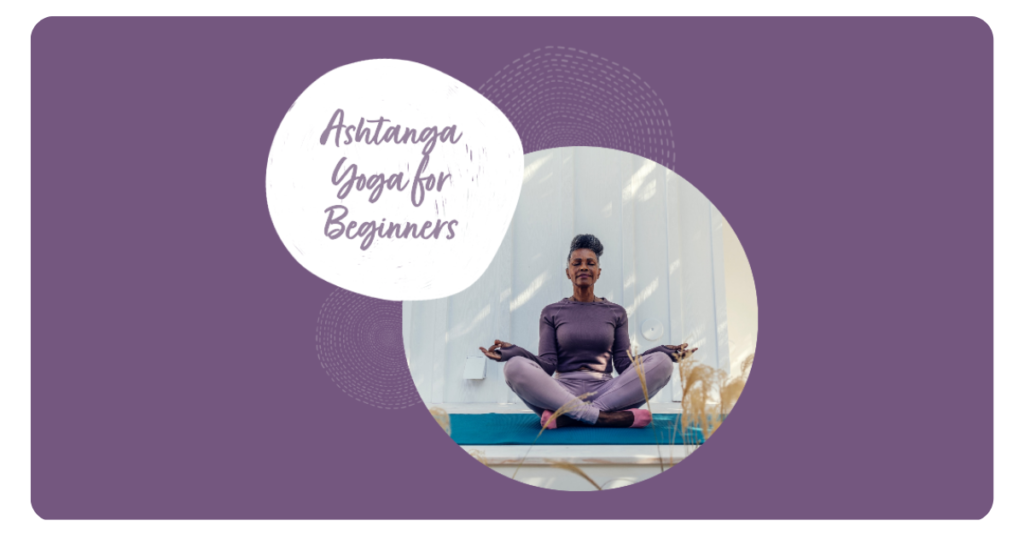
Beginner Ashtanga Poses Explained
Now that you’ve set the stage for your Ashtanga practice, it’s time to dive into the essential poses for beginners. Remember, the key to a safe and rewarding experience is to listen to your body, practice patience, and prioritize proper alignment over depth in the postures.
Standing Poses
The standing poses in Ashtanga yoga serve as an excellent foundation for building strength, stability, and body awareness. Here’s a breakdown of some beginner-friendly standing postures:
Surya Namaskar (Sun Salutations)
Surya Namaskar A and B are sequences of poses that flow together in a continuous vinyasa, syncing movement with breath. These sun salutations are an integral part of every Ashtanga practice and serve as an effective warm-up for the body and mind.
Surya Namaskar A:
- Tadasana (Mountain Pose): Stand tall with your feet together or hip-width apart, engage your core, and breathe deeply.
- Urdhva Hastasana (Upward Salute): Inhale and raise your arms overhead, keeping your biceps close to your ears.
- Uttanasana (Standing Forward Fold): Exhale and hinge at your hips, folding your torso forward, and release your head toward the floor.
- Ardha Uttanasana (Half-Standing Forward Fold): Inhale and lift your torso halfway up, lengthening your spine.
- Chaturanga Dandasana (Plank Pose): Exhale and step back into a high plank position, engaging your core and keeping your body in a straight line.
- Urdhva Mukha Svanasana (Upward-Facing Dog Pose): Inhale and lift your chest forward, arching your back and gazing upward.
- Adho Mukha Svanasana (Downward-Facing Dog Pose): Exhale and lift your hips up and back, creating an inverted “V” shape with your body.
Repeat this sequence, flowing with your breath, before transitioning into Surya Namaskar B.
Surya Namaskar B:
This variation incorporates a few additional poses, such as Virabhadrasana I (Warrior I Pose) and Prasarita Padottanasana (Wide-Legged Forward Fold), making it slightly more challenging than Surya Namaskar A.
Remember to move slowly and mindfully through each pose, focusing on proper alignment and breathing. Modifications can be made by bending the knees in forward folds or placing your knees on the mat during plank and upward-facing dog poses.
Utkatasana (Chair Pose)
- Stand with your feet hip-width apart and your arms raised overhead.
- Bend your knees and send your hips back as if sitting in an invisible chair, keeping your knees in line with your ankles.
- Engage your core and keep your chest lifted, gazing forward or slightly upward.
- Hold for 5-10 breaths, focusing on your balance and stability.
Modification: If you have tight hips or knees, place a block or folded blanket under your sitting bones for support.
Trikonasana (Triangle Pose)
- Start in Tadasana (Mountain Pose) with your feet about 3-4 feet apart.
- Turn your right foot out 90 degrees and your left foot in slightly.
- Extend your arms out to the sides, parallel to the floor, and hinge at your hips to lean your torso over your right leg.
- Place your right hand on your shin, ankle, or a block, and extend your left arm toward the ceiling, creating a straight line from your left heel to your left fingertips.
- Keep your neck in a neutral position, gazing forward or up at your left hand.
- Hold for 5-10 breaths, then repeat on the other side.
Modification: If you have difficulty reaching the floor, use a block or a chair for support. You can also bend your front knee to make the pose more accessible.
These standing poses will help you build strength, stability, and body awareness, preparing you for the seated and inverted postures to come.
Seated Poses
Ashtanga yoga incorporates a variety of seated postures that challenge flexibility, strength, and focus. Here are some key seated poses for beginners:
Dandasana (Staff Pose)
- Sit on the floor with your legs extended in front of you, keeping your spine straight and your hands beside your hips.
- Engage your core and lengthen your tailbone toward the floor, creating space between your vertebrae.
- Flex your feet and press your heels forward, engaging your quadriceps.
- Hold for 5-10 breaths, focusing on maintaining a tall, lifted posture.
This foundational pose may seem simple, but it helps build core strength and prepares the body for more challenging seated postures.
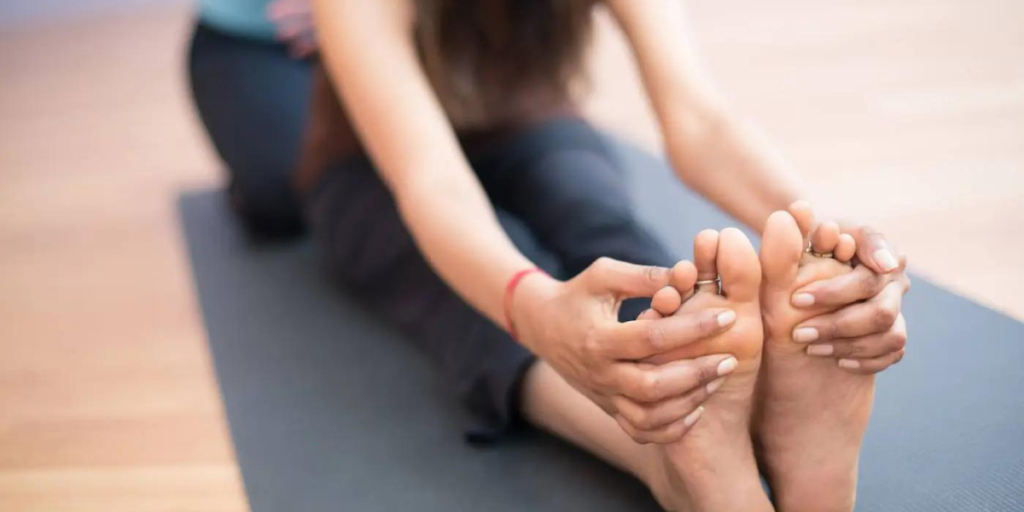
Upavishta Konasana (Wide-Angle Seated Forward Bend)
- From Dandasana, open your legs into a wide straddle, keeping your feet flexed.
- Inhale and lift your arms overhead, reaching toward the ceiling.
- Exhale and hinge forward from your hips, walking your hands forward as far as comfortable.
- Keep your spine long and your head relaxed as you fold deeper into the pose.
- Hold for 5-10 breaths, breathing into any areas of tightness in your inner thighs or hamstrings.
Modifications: Place a block or folded blanket under your sitting bones for support, or bend your knees slightly if you experience discomfort in your hamstrings or groin area.
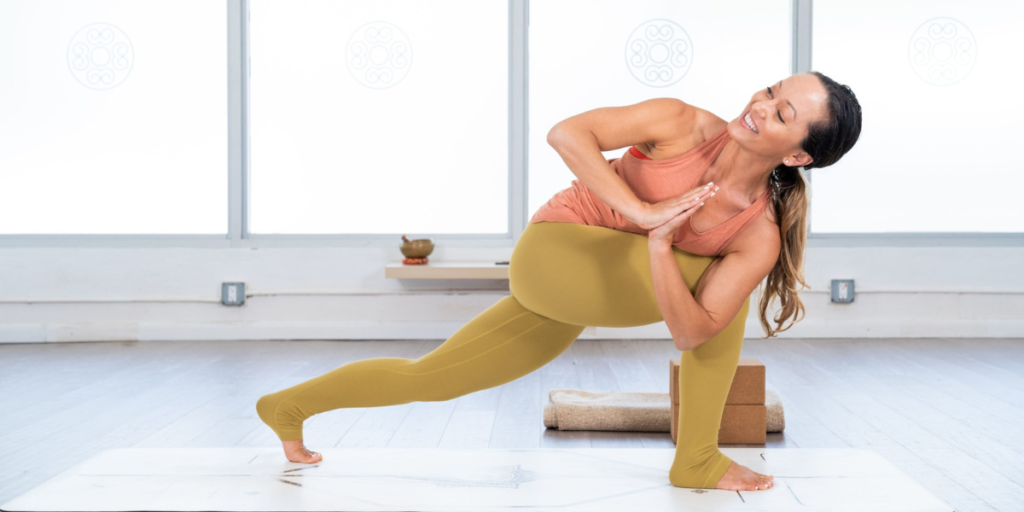
Marichyasana C (Pose Dedicated to the Sage Marichi)
This seated twist is a staple in Ashtanga yoga, helping to increase spinal mobility and detoxify the body.
- Start in Dandasana, then bend your right knee and cross it over your left thigh, stacking your knees.
- Hook your right elbow to the outside of your right knee, using it as a lever to deepen the twist.
- Reach your left arm behind you, keeping your spine tall and your gaze over your right shoulder.
- Hold for 5-10 breaths, then repeat on the other side.
Modifications: If you have difficulty crossing your legs, you can keep them extended in front of you and twist from a seated position.
In addition to these core seated postures, Ashtanga yoga incorporates a variety of forward folds, twists, and hip openers to promote flexibility and release tension in the lower body. Remember to breathe deeply and use props like blocks or straps to ensure proper alignment and avoid strain.
Backbends
Backbends are an integral part of Ashtanga yoga, helping to open the front of the body, increase spinal mobility, and cultivate a sense of confidence and openness. However, these poses can be challenging for beginners, so it’s essential to approach them with caution and proper preparation.
Bhujangasana (Cobra Pose)
- Lie on your stomach with your legs extended behind you and your hands placed directly under your shoulders.
- Engage your core and press your toes into the mat, lifting your chest off the floor.
- Keep your elbows tucked in close to your body and your shoulders away from your ears.
- Gaze forward or slightly upward, being mindful not to strain your neck.
- Hold for 5-10 breaths, feeling the gentle backbend through your entire spine.
Modification: If you experience discomfort in your lower back, keep your legs hip-width apart and place a block or folded blanket under your pelvis for support.
Dhanurasana (Bow Pose)
This deeper backbend should be approached with care and proper warmup. It’s recommended to have some experience with Cobra Pose before attempting Bow Pose.
- Lie on your stomach with your hands beside your body, palms facing down.
- Bend your knees and reach back to grab the outsides of your ankles.
- Inhale and kick your feet back into your hands, lifting your heels away from your buttocks.
- Engage your core and lift your chest off the floor, creating an arched backbend.
- Keep your gaze forward or slightly upward, being mindful of your neck.
- Hold for 5-10 breaths, then release by lowering your body back to the mat.
Modifications: Use a strap looped around your ankles to assist in grabbing your feet, or practice the backbend with your knees bent and feet on the floor.
Remember, backbends can be intense and should be approached gradually, especially if you’re new to the practice. Always listen to your body and avoid forcing or straining in these poses.
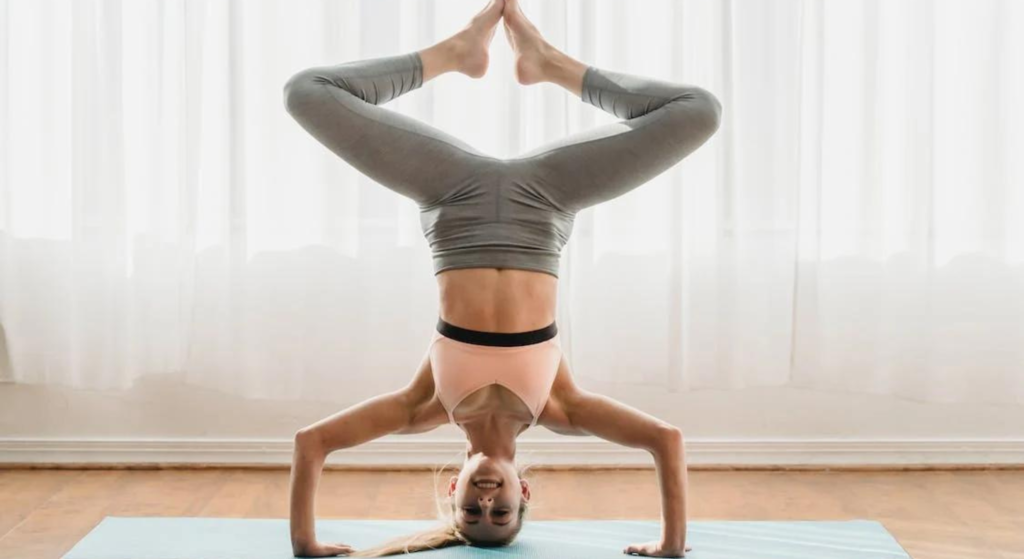
Inversions
Inverting the body has numerous benefits, from improving circulation and lymphatic drainage to cultivating a sense of calm and focus. In Ashtanga yoga, the primary inversion for beginners is Sarvangasana (Shoulder Stand).
Sarvangasana (Shoulder Stand)
- Lie on your back with your legs extended and your arms beside your body, palms facing down.
- Engage your core and press your shoulders and upper arms firmly into the mat.
- Inhale and lift your legs straight up, using your abdominal muscles to support your weight.
- Straighten your legs and extend your toes toward the ceiling, creating a straight line from your heels to your shoulders.
- Keep your chin tucked and your gaze focused on your navel or the wall behind you.
- Hold for 5-10 breaths, breathing deeply and staying focused.
Modifications: If you feel any discomfort in your neck or have high blood pressure, practice Viparita Karani (Legs-Up-the-Wall Pose) instead. This variation offers the benefits of inversion without putting as much weight on your shoulders and neck.
When practicing inversions, it’s essential to approach them gradually and with proper preparation. Start with preparatory poses like Setu Bandha Sarvangasana (Bridge Pose) and Halasana (Plow Pose) to build strength and confidence before attempting more advanced inversions.
Tips for Beginners Practicing Ashtanga
While the poses themselves are crucial, there are several additional tips and considerations to keep in mind as a beginner embarking on the Ashtanga yoga journey:
- Start Slow and Steady: Ashtanga yoga can be physically demanding, so it’s essential to pace yourself and avoid pushing too hard, too soon. Start with a shorter practice or focus on a specific sequence, gradually increasing your intensity as you build strength and stamina.
- Learn the Ujjayi Breath and Vinyasa Transitions: The ujjayi breath and the vinyasa (the transition between poses) are fundamental components of Ashtanga yoga. Take the time to learn and practice these techniques, as they will help you move with greater fluidity and mindfulness.
- Listen to Your Body: While Ashtanga yoga encourages discipline and commitment, it’s essential to listen to your body’s signals and avoid pushing beyond your limits. If a pose causes discomfort or strain, back off or use modifications to ensure a safe and enjoyable practice.
- Consider Taking a Class: While self-practice is a cornerstone of Ashtanga yoga, it can be invaluable to learn from an experienced teacher, especially when you’re first starting out. A qualified instructor can guide you through the proper alignment, breathing techniques, and sequencing, helping you establish a solid foundation.
- Be Patient and Consistent: Progress in Ashtanga yoga takes time and dedication. Embrace the journey, celebrate small victories, and stay consistent with your practice. Over time, you’ll experience the transformative power of this ancient tradition.
Remember, Ashtanga yoga is a lifelong practice, and the journey is just as important as the destination. By approaching it with patience, humility, and a willingness to learn, you’ll be well on your way to reaping the countless benefits this practice has to offer.
Sample Ashtanga Routines for Beginners
As you embark on your Ashtanga yoga journey, it can be helpful to have a few beginner-friendly routines to guide your practice. Here are two sample sequences to get you started:
Short Beginner Routine (30-45 minutes):
- Surya Namaskar A (Sun Salutation A)
- Utkatasana (Chair Pose)
- Trikonasana (Triangle Pose)
- Dandasana (Staff Pose)
- Upavishta Konasana (Wide-Angle Seated Forward Bend)
- Bhujangasana (Cobra Pose)
- Sarvangasana (Shoulder Stand) or Viparita Karani (Legs-Up-the-Wall Pose)
- Savasana (Corpse Pose)
This routine focuses on building strength, flexibility, and body awareness through a mix of standing, seated, and inverted postures. Remember to move at your own pace and use modifications as needed.
Intermediate Beginner Routine (60-75 minutes):
- Surya Namaskar A & B (Sun Salutation A & B)
- Utkatasana (Chair Pose)
- Trikonasana (Triangle Pose)
- Dandasana (Staff Pose)
- Upavishta Konasana (Wide-Angle Seated Forward Bend)
- Marichyasana C (Pose Dedicated to the Sage Marichi)
- Bhujangasana (Cobra Pose)
- Dhanurasana (Bow Pose)
- Sarvangasana (Shoulder Stand)
- Halasana (Plow Pose)
- Savasana (Corpse Pose)
This intermediate routine introduces more challenging postures, such as Marichyasana C and Dhanurasana, while still offering modifications for those new to the practice. As always, listen to your body and adjust as needed.
Remember, these routines are just a starting point, and the beauty of Ashtanga yoga lies in its ability to be tailored to your individual needs and abilities. As you progress, you can add or modify poses to create a practice that challenges you while still being accessible and enjoyable. “Ashtanga Yoga for Beginners: A Complete Guide“
Conclusion
Ashtanga yoga is a transformative practice that can offer countless benefits for the body, mind, and spirit. By breaking down the essential poses for beginners and providing step-by-step instructions, modifications, and tips, this guide aims to empower you to embark on your Ashtanga journey with confidence and enthusiasm.
Remember, the key to a rewarding and sustainable practice is to approach it with patience, humility, and a willingness to learn. Celebrate your progress, no matter how small, and embrace the challenges as opportunities for growth.
As you continue your Ashtanga practice, remember to stay hydrated, nourish your body with wholesome foods, and prioritize rest and recovery. This ancient tradition is a lifelong journey, and by cultivating a balance between effort and ease, you’ll be able to reap its countless rewards for years to come.
So, roll out your mat, take a deep breath, and embrace the transformative power of Ashtanga yoga. The path may not always be easy, but the rewards are truly invaluable.